Opening Your Etsy Shop: Step-by-Step Setup for First-Time Sellers
Why Opening Your Etsy Shop Is a Defining Creative Step
Maybe you’ve been thinking about it for months. Maybe you’ve been quietly making jewellery, or sketching in the evenings after work, wondering — could this really become something more?
That’s exactly how it started for a friend of mine — a printmaker from Brighton. She had a small stack of lino prints and absolutely no plan. Another friend — she ran a ceramic studio — said, “Just list one thing. One print. See what happens.” She listed it. It sold. The rest is still unfolding.
Opening your Etsy shop isn’t just about listing a product. It’s about choosing to show up as a creator. And yes, that takes nerve.
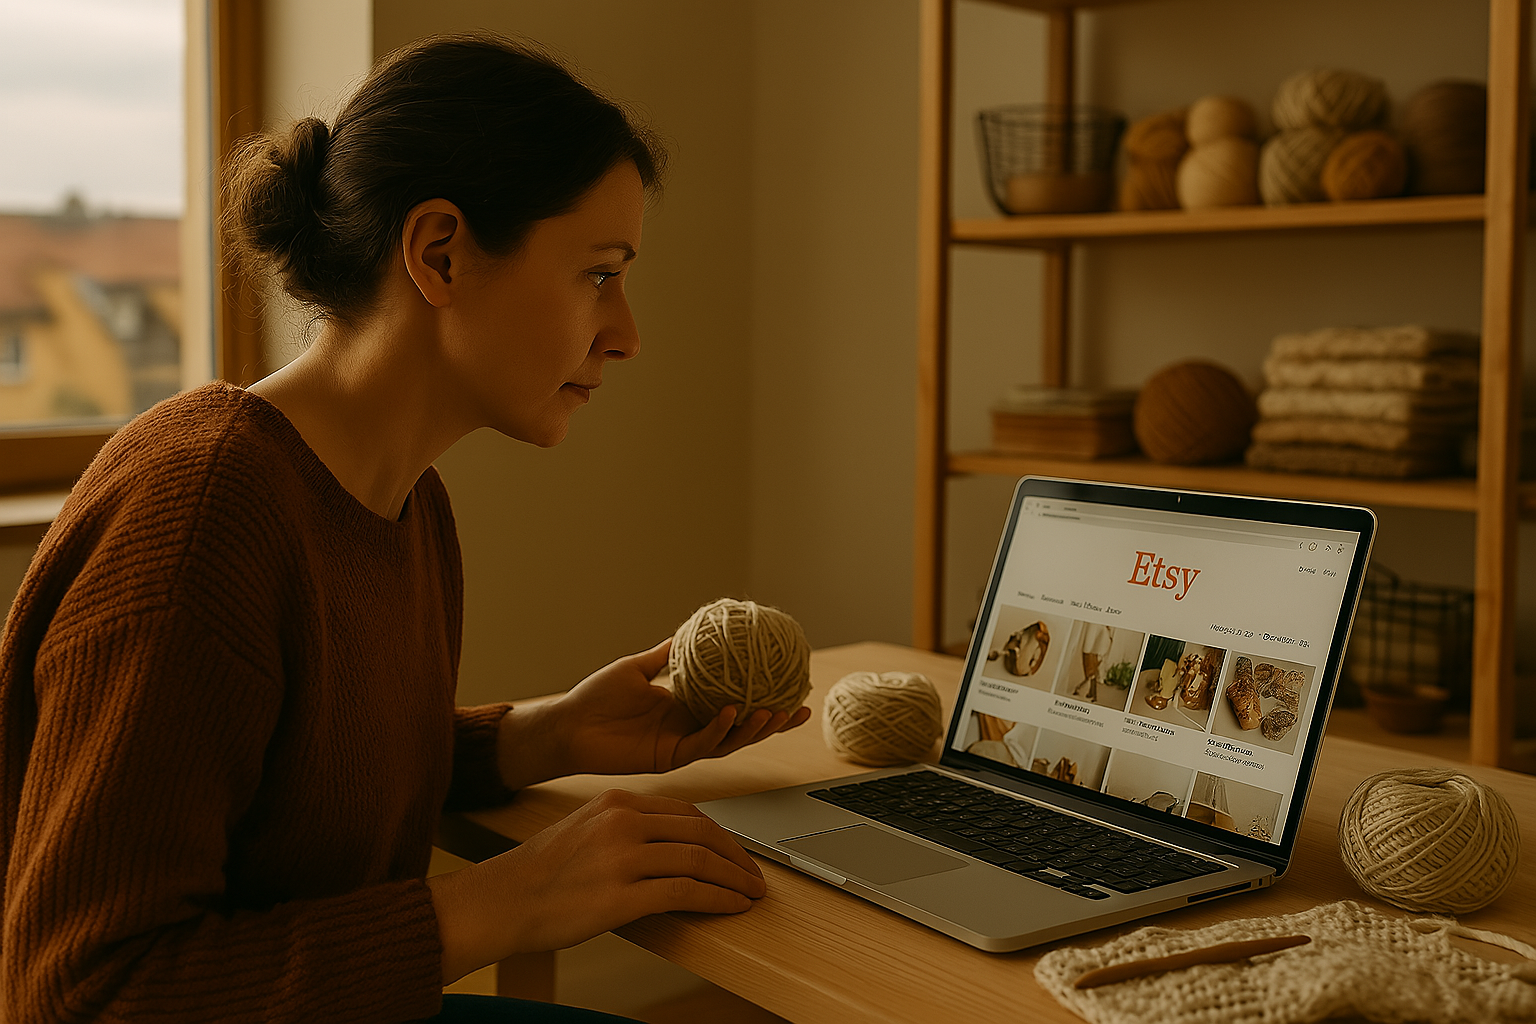
If you're still unsure whether Etsy is the right place for you, I recommend starting with this guide — it covers what Etsy offers and what kind of people thrive there.
Let’s take this step together. One action at a time.
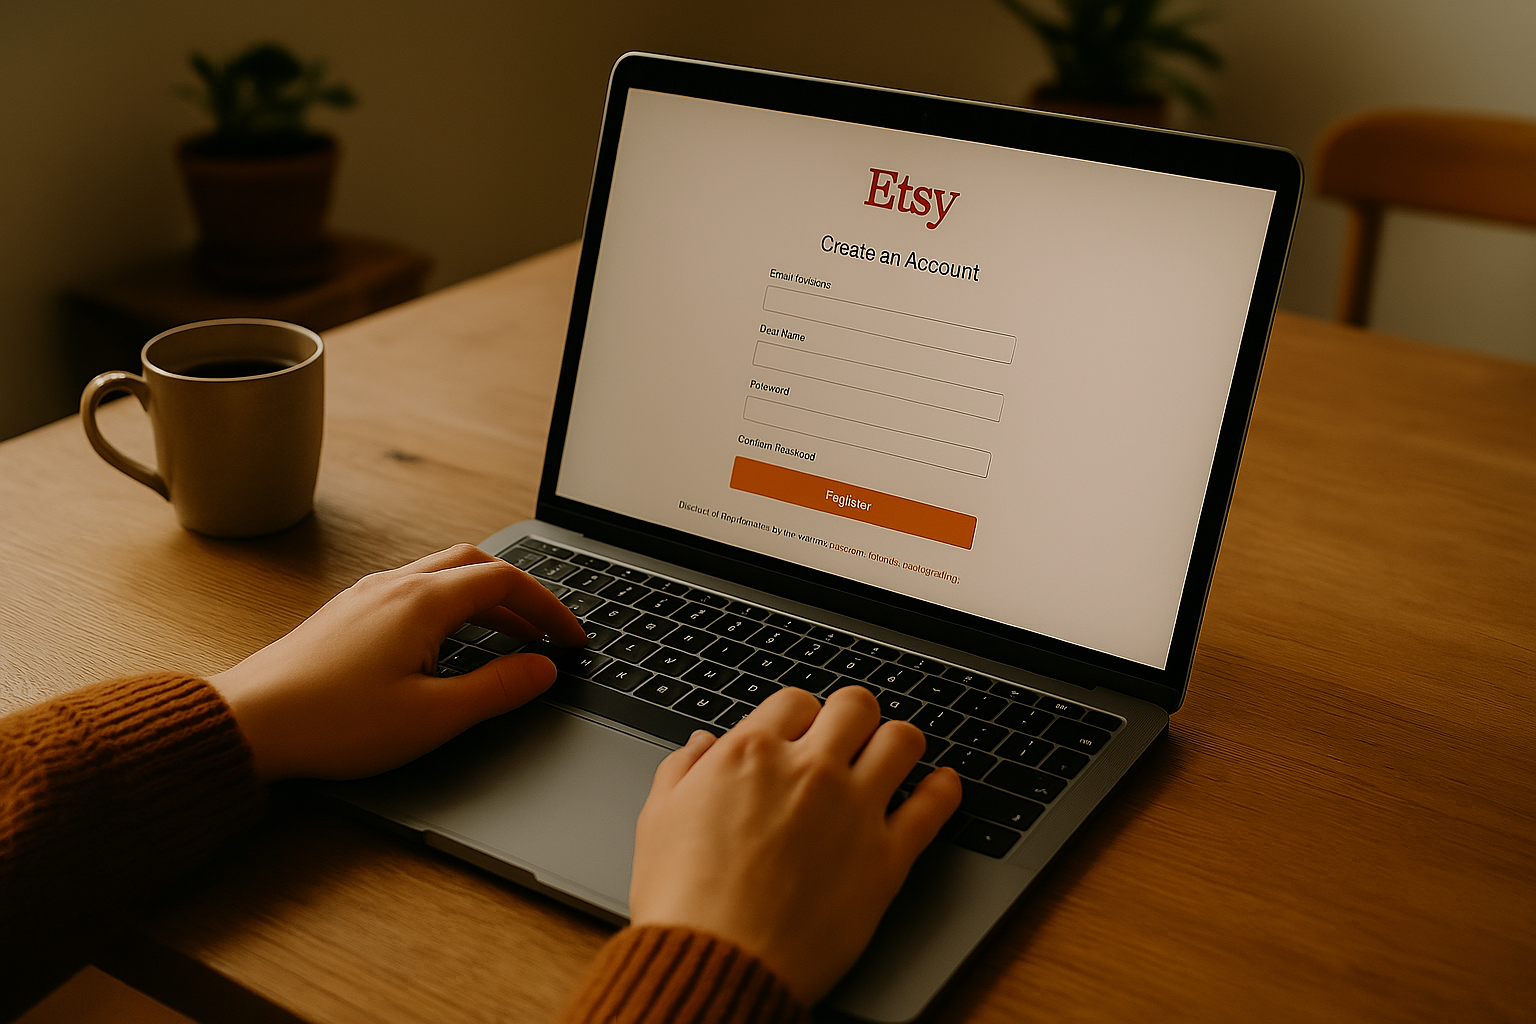
Step 1 — Create Your Etsy Account
How to register
Go to Etsy.com and click "Sign in" or "Register."
You can use your email or log in through Google or Apple.
If you’ve already bought something from Etsy, you’ve got a head start — just expand your account into a seller profile.
Why security matters
Please, set up two-factor authentication right away. I didn’t, and I spent two sleepless nights after someone tried to reset my password. It’s a small thing that saves a lot of future worry.
There’s a strange moment when you shift from being a browser to being a seller.
That moment deserves a pause. You’re stepping into a different role now — one that involves sharing your work, taking small risks, and maybe hearing feedback you didn’t ask for. It’s worth it.
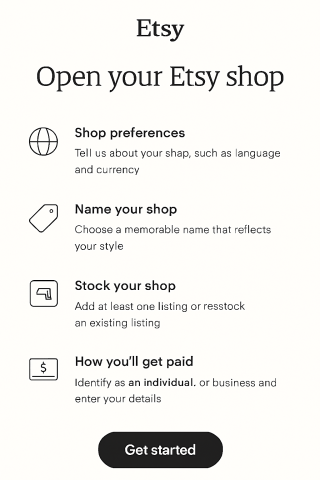
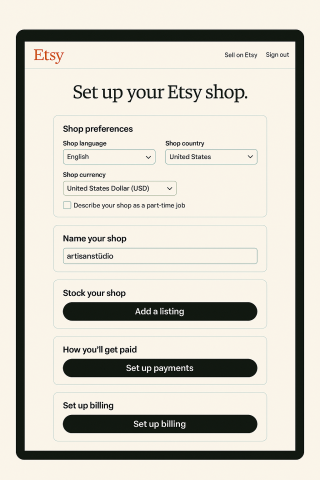
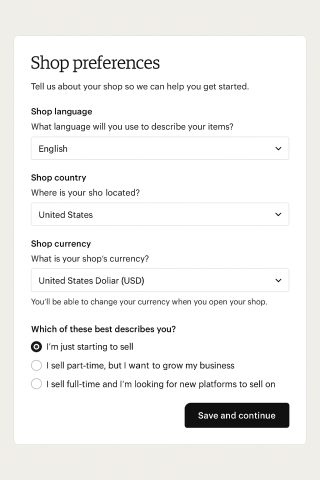
Step 2 — Set Up Your Shop Preferences
What to choose
After clicking "Sell on Etsy," the site will ask you to select:
- Your shop’s default language
- Your country
- Your currency
Avoiding currency pitfalls
If you're in the UK, choose GBP — don’t think twice.
Etsy charges a currency conversion fee otherwise, and those percentages add up over time.
I helped a friend — Olivia, she’s a textile artist — who’d accidentally set her currency to USD.
By the time she fixed it, she’d paid nearly £30 in hidden fees across several sales.
Not the end of the world, but not ideal either.
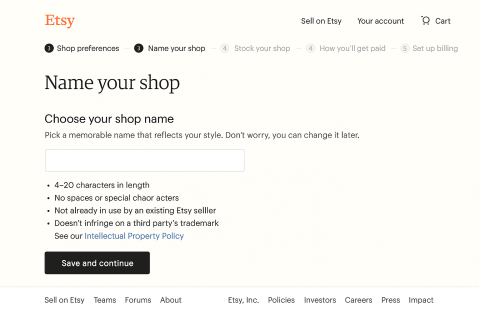
Step 3 — Choose a Memorable Shop Name
Making it meaningful
Naming a shop is more art than science.
And it can take longer than you expect.
Here are the questions I usually ask myself:
- Would I remember this name if I heard it once?
- Does it reflect what I actually make?
- Will it make someone smile, or feel something?
Personal inspiration
My current shop is called "Fern & Fig." The name came to me while I was pruning plants in my kitchen. It doesn’t describe my product directly, but it evokes a certain mood — natural, delicate, a bit poetic. That’s what I wanted buyers to feel.
Don’t overthink it. Don’t let perfection stop you from moving forward.
Step 4 — Your First Product Listing
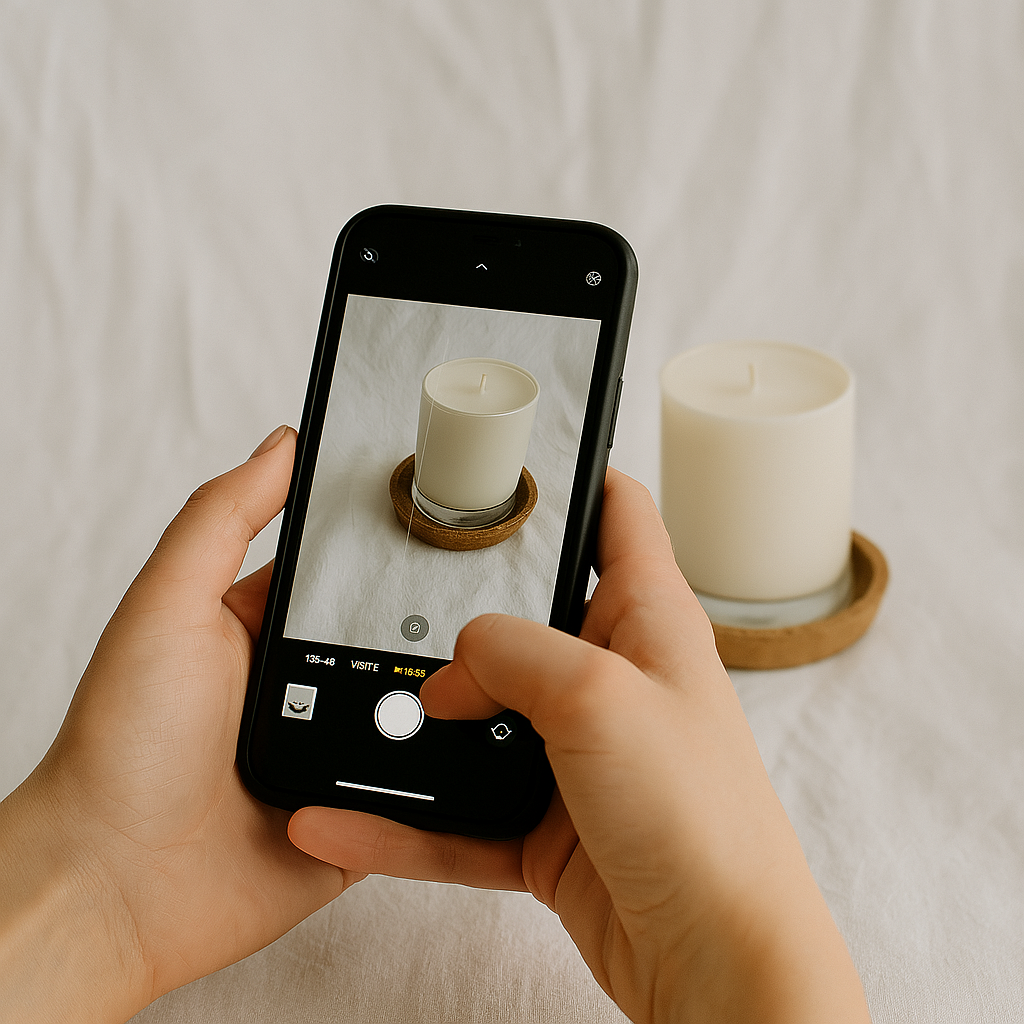
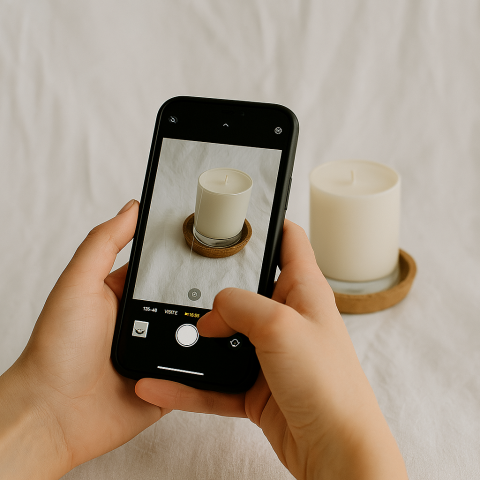
Visual quality matters
You only need one listing to go live.
Take a few photos in natural light — even a basic phone camera will do if the lighting is good.
Show the product from multiple angles.
If it’s wearable, wear it. If it’s hangable, hang it. Context matters.
Writing with clarity
Use your description to tell a little story.
Where did this piece come from?
Who is it for? Why did you make it the way you did?
The first two lines of your listing are the most important — they appear in previews and search. Start strong.
Pricing and confidence
My first price was too low. It felt safer. But I regretted it. Pricing low tells buyers you don’t believe in the value of your work.
A better strategy? Set a price you can stand behind, then offer excellent communication, thoughtful packaging, and a memorable customer experience. That’s what earns loyalty.
Step 5 — Payments and Billing
Setting up payments
Etsy will ask how you’d like to get paid. Choose Etsy Payments if it’s available — it simplifies everything and allows you to accept a wide range of payment types.
You’ll be asked to enter:
- Your full legal name
- Your UK address
- Your bank details
Understanding fees
Here’s a breakdown of what Etsy keeps from a £100 sale:
- 6.5% transaction fee = £6.50
- 3% + £0.25 processing = £3.25
- Listing fee = £0.20
Total: ~£9.95
Knowing this helps you price with confidence. No surprises later.
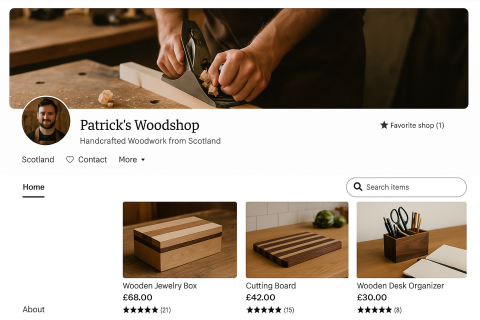
Step 6 — Customise Your Shopfront
First impressions matter
This is where your shop begins to breathe.
Add a header image.
Use your logo or your own portrait.
Write a shop bio — not a mission statement, just a few lines in your own words.
Add your shop policies, and make sure they reflect your real working pace.
Build buyer trust
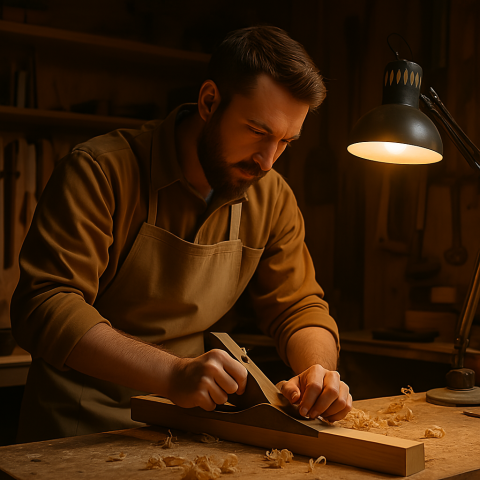
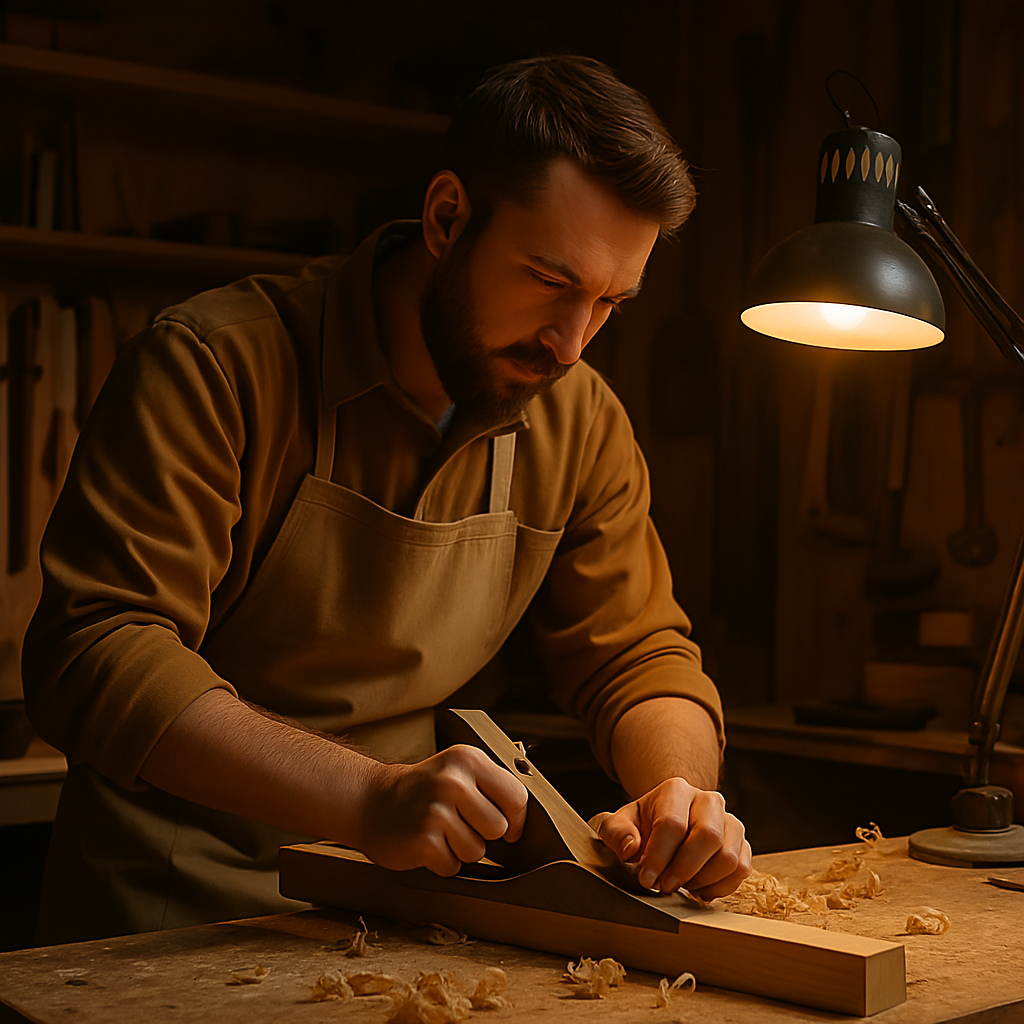
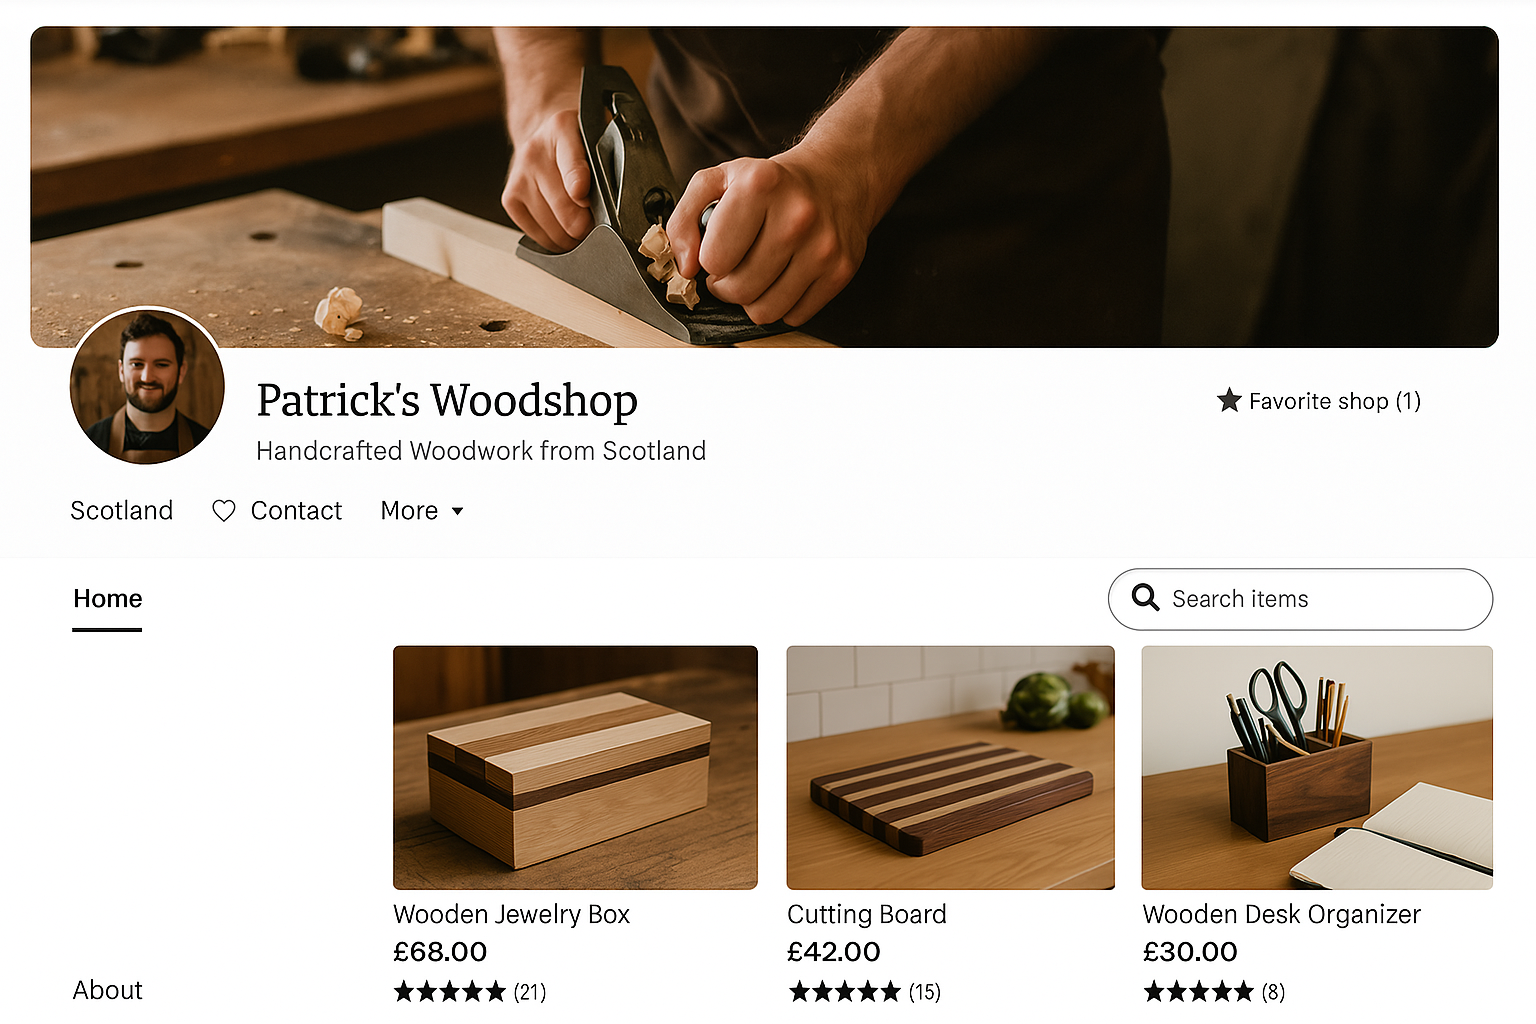
When Patrick — the same woodcarver from earlier — uploaded a photo of his workbench and a few tools scattered in the background, his engagement spiked. Not because of the lighting.
But because buyers saw a real person behind the listings.
This is the heart of Etsy: real people, making real things.
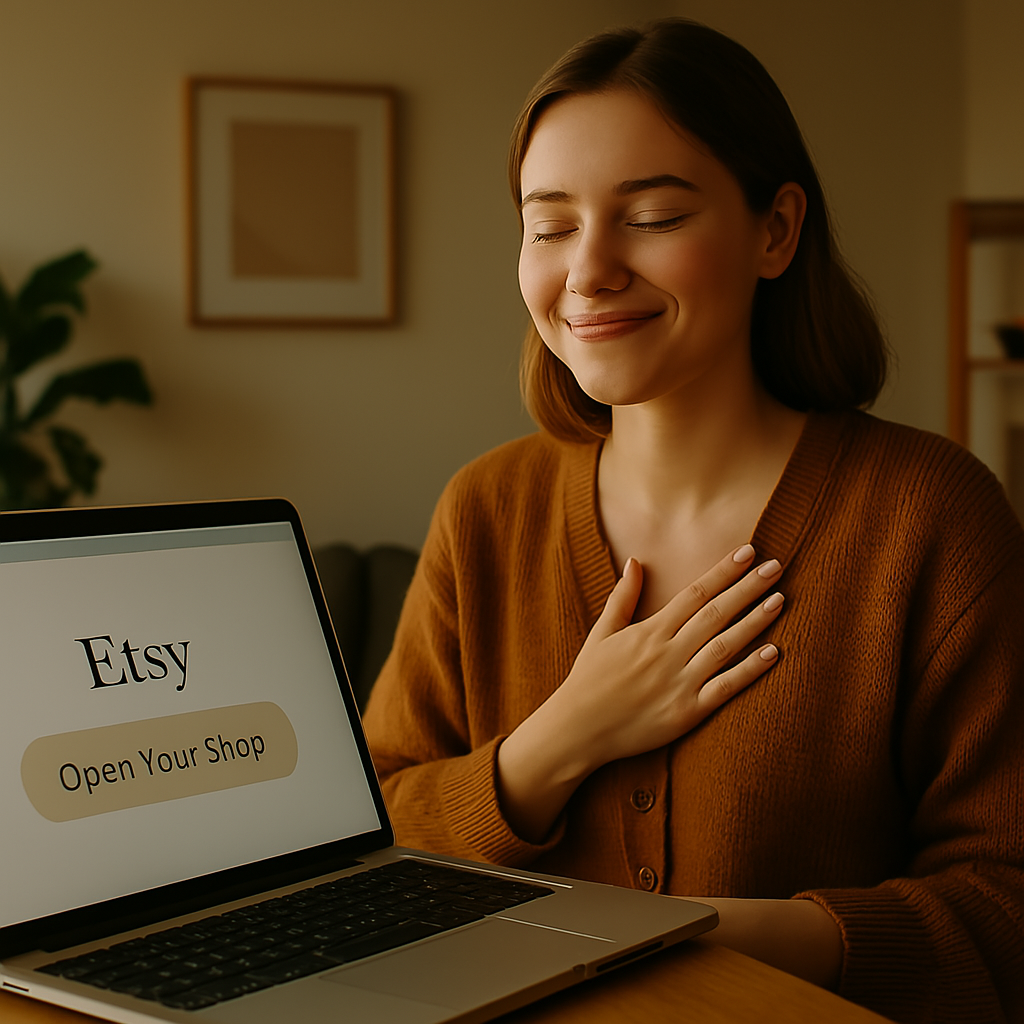
Ready to Launch
You’re here. You’ve uploaded the product. You’ve told your story.
Now — click “Open Your Shop.”
It might feel anticlimactic at first.
No fanfare, no applause.
But it matters. It’s the moment you said, “Yes, I’m doing this.”
When that same printmaker friend I mentioned earlier opened her shop, she told exactly three people.
One of them bought something out of pure kindness. But it gave her the courage to keep going.

Final Thoughts
You don’t need to get everything right on the first try.
All you need is to begin. The rest — pricing, photos, even your shop name — can be changed.
What can’t be faked is the decision to start.
Opening your Etsy shop is more than setting up an online store.
It’s a quiet, personal declaration: I make things. And I believe they’re worth sharing.
In the next article, we’ll explore what makes a product listing truly effective — how to connect not just with the algorithm, but with real people.
